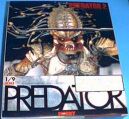
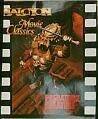
There's two versions of this same kit...first put out by Halcyon, then Tsukuda Hobby bought the molds . Different box art, but the same kit inside.
I won both versions off eBay over the years and since the Halcyon is still sealed and the Tsukuda wasn't, picked the Tsukuda!
So let's open the box and get started...

The instructions are in Japanese, of course...and there's A LOT of pieces to this kit!
Each dreadlock hair piece comes seperate!
Forty-Three (43) tiny versions of them...visions of the individual spikes to the Lindberg GODZILLA kit flashes once again before my eyes!! So that will either be fun or frustration maximized!!
Questions such as once all 43 of them suckers are glued to the head piece, will I be able to get a paint brush in there to paint them all?!!
And should I paint the body first and the head seperate, before putting the head on the body?!
Well...per the instructions, the head is the last step. So we'll figure that out as we put him all together!
For this kit I'm using:
- AMBROID Pro-Weld Glue
- Zap-A-Gap CA+ Glue (Green Bottle)
- TESTOR's Contour Putty
- MILLIPUT Putty
- KRYLON's Ruddy Brown & White Sandable Primer
- KRYLON's Matte Finish
- TESTOR's Dullcoat
- AlphaColor Soft Pastels
- Anita's, Apple Barrel, Delta Ceramcoat, Palmer Prism acrylic 2 oz. bottles
- Prismacolor Soft Lead Art Pencils
- Marvy Gold Metallic Gel pen
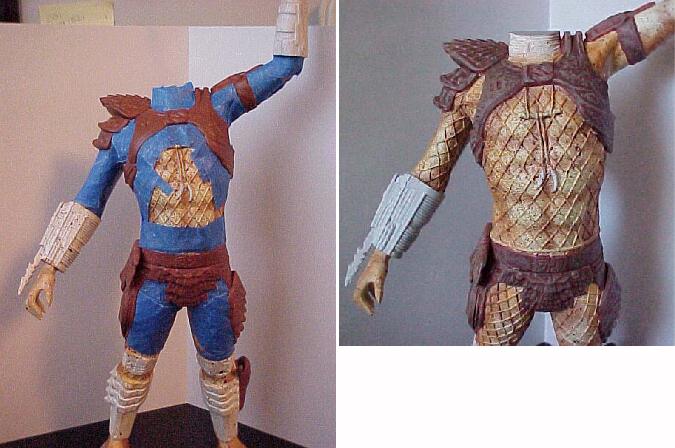
1. The Body...
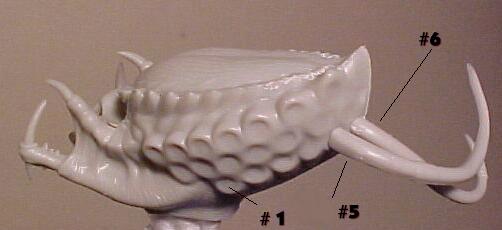
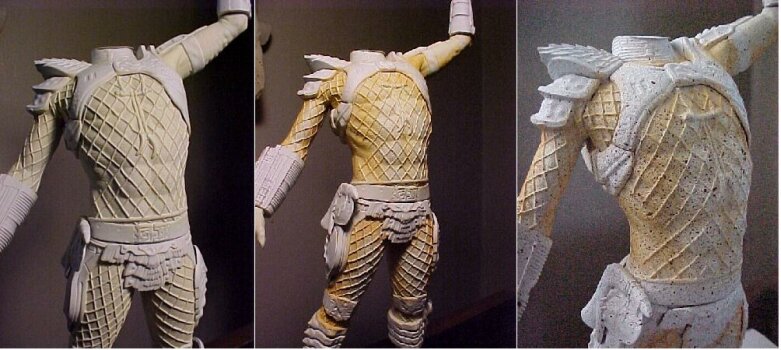
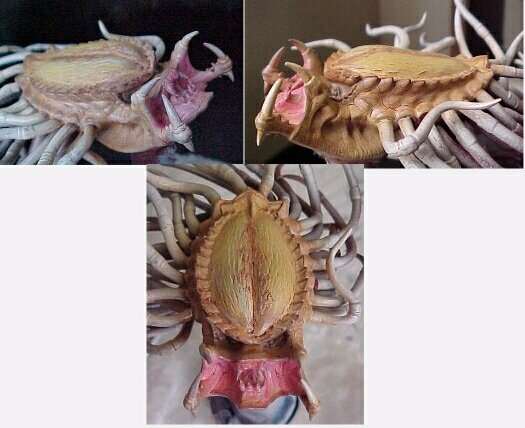
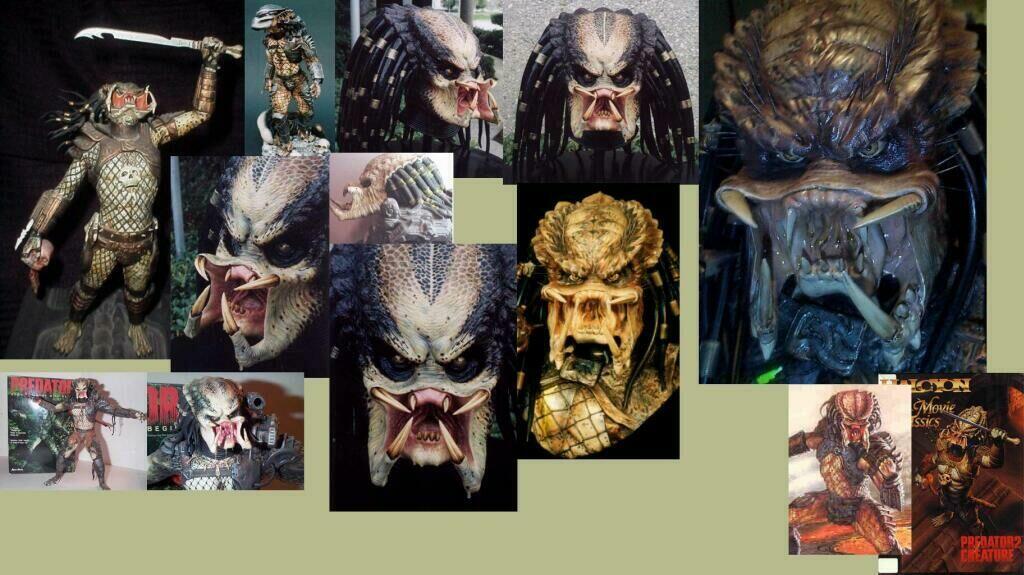 First thing to do is grab some reference photos!
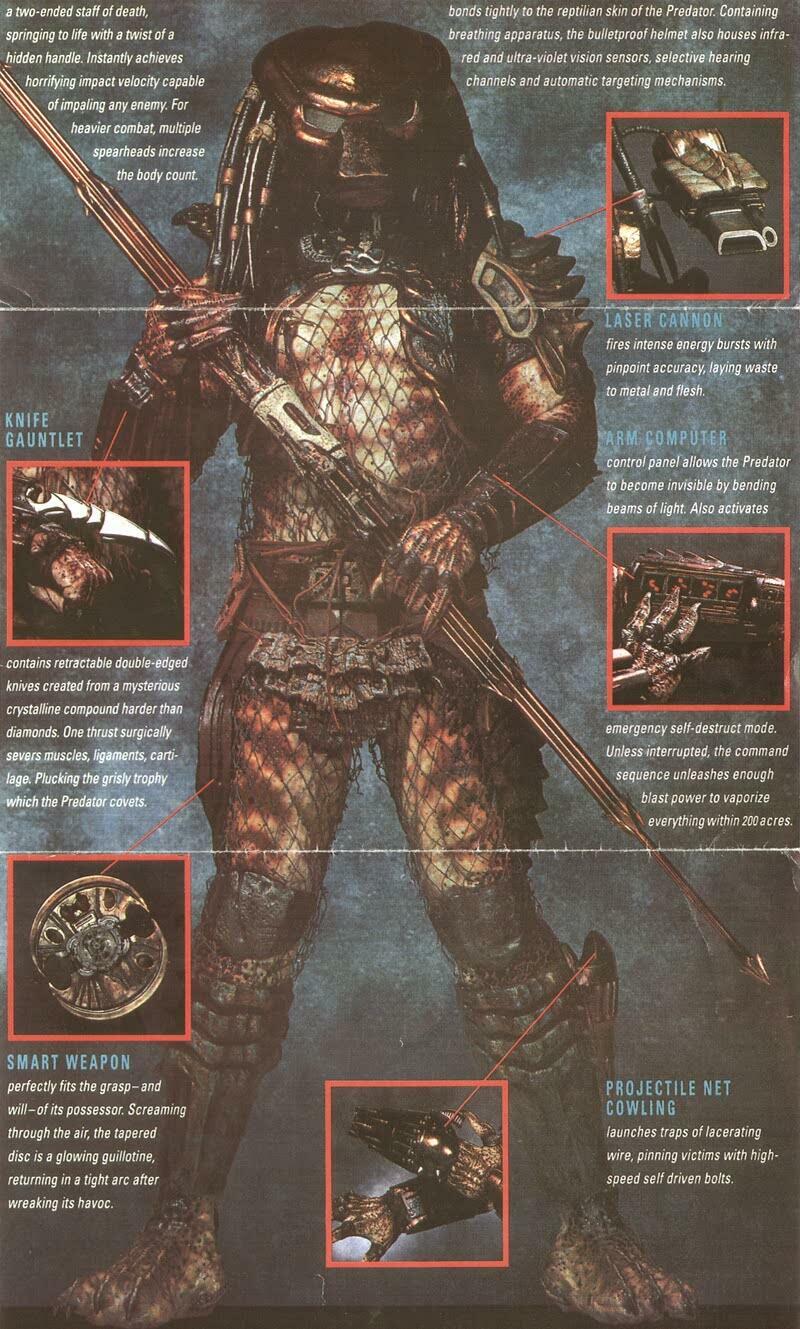
This is a great photo for reference. It's big, & I'm putting it up here large so it won't lose detail!
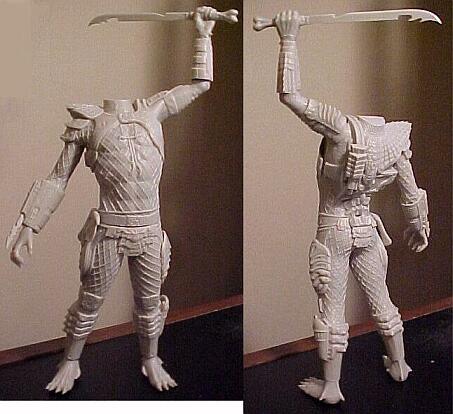
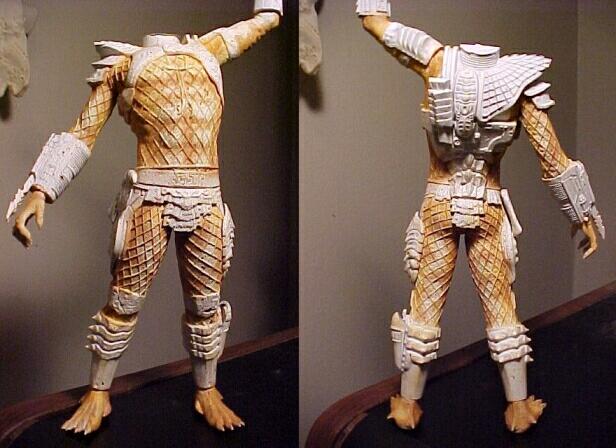
Let's start putting him together!
Noticed when putting halves together that there are no alignment pins on this kit. No problem, just never saw it before.
The netting detail on his chest and legs make sanding the seams a pain in the ass. But you have to do it! (Should have listened closer when the STrek guys talked about restoring raised panel lines!)
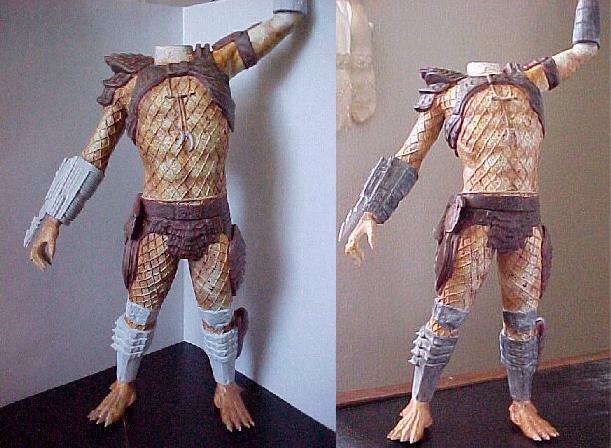
Make sure you do all your sanding prior to putting the pieces of the body together. Some areas will be very difficult once he's put together!
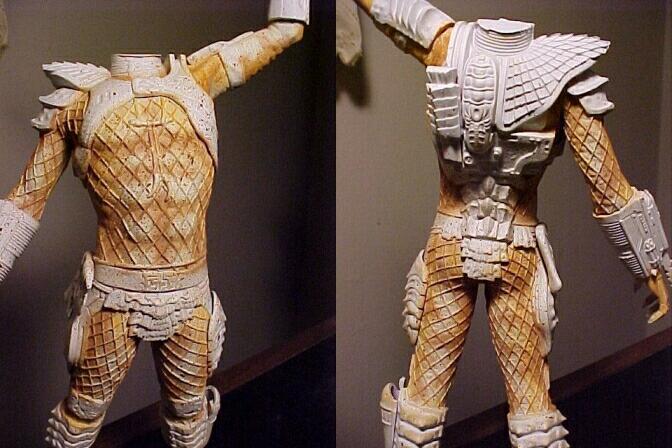
Because the arms are two seperate pieces...upper arms/forearms, I first glue all the major halves together but keep them seperate so I can better eyeball the angle they look best at.
So glue the legs to torso, upper arms to torso. Then glue on the feet, insuring it stands correctly. Then I glue on the forearms.

Then continue glueing everything onto his back and sides. Leave the scabbard off for now.
The two long blades coming out from his wrist when glued on, will probably make painting and shading his hand difficult when I get to that stage, so you might want to paint these seperate and attach them after you're done painting the figure.
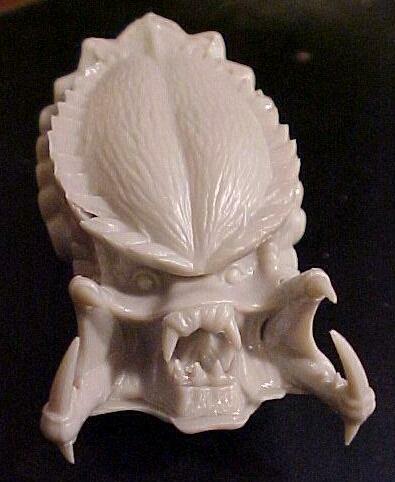
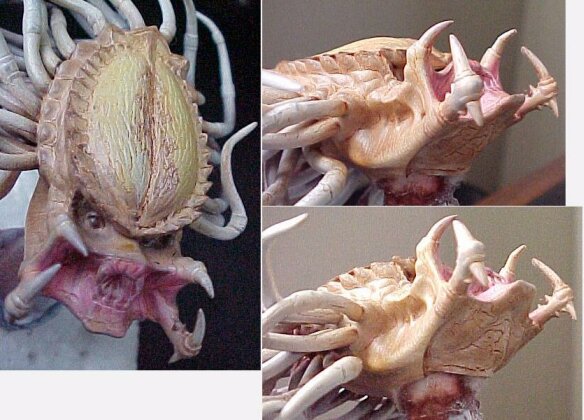
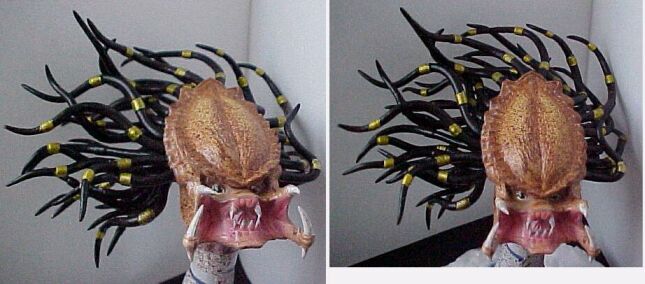
2. The Head...
Not too impressed with how they divided the head pieces for molding. Believe it could have been accomplished with fewer pieces!
The small upper/lower teeth give you some hairy moments, trying to get your fat fingers in there long enough to hold the teeth down for the glue to take hold!
Once all together, some putty work will be required to smooth everything out and fill slight gaps.
3. The Dreadlocks...
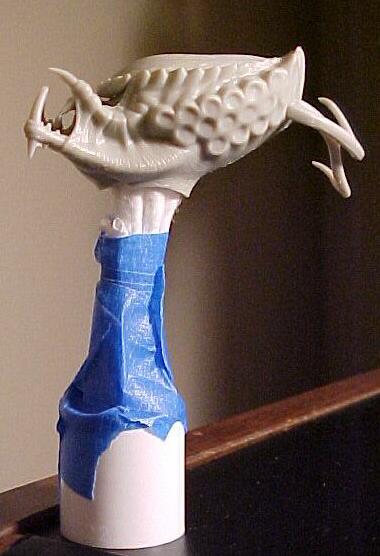 I tape together a bunch of Q-tips,
insert into the bottom of the head and tape on a plastic ring to the bottom of the Q-tips to make a little stand while I work on the
dreadlocks.
I tape together a bunch of Q-tips,
insert into the bottom of the head and tape on a plastic ring to the bottom of the Q-tips to make a little stand while I work on the
dreadlocks.
Instead of starting with #1, I start with #6, on the bottom row and work back to #1. Since I want the hair to be turning from
left to right when looking from the back, it's easier starting from the back of the head and working forward.
 Lesson Learned! Although the concept was correct, back it up even more. Start with #12 on the
bottom row, far side and work back to #1. (When I got to numbers #7-12 was slightly difficult getting my fingers in there as
I put them on).
Lesson Learned! Although the concept was correct, back it up even more. Start with #12 on the
bottom row, far side and work back to #1. (When I got to numbers #7-12 was slightly difficult getting my fingers in there as
I put them on).On the 2nd row, start with #27 and work back to #13, and the same with the top row...start with #43 and work back to #28, and you shouldn't have any problems at all!
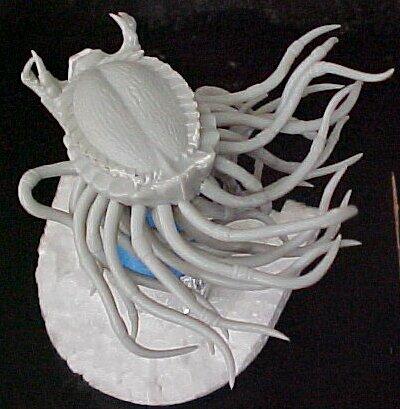 Middle row done!!
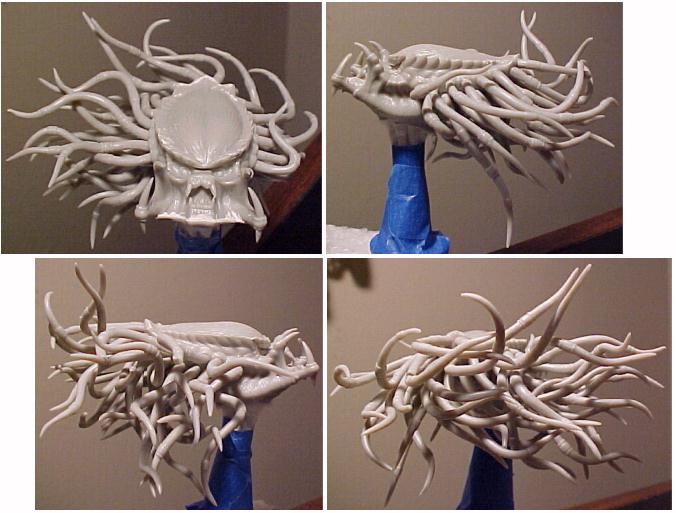
... and finally the top row is completed!
 Whew!
Whew!
I wonder if Medusa has these many dang locks!!?!
As you apply the dreadlocks, repeatedly test fit the head to the body to ensure there's no interference.
Note worthy: As one progresses in building the kit, or in painting, a couple of the dreadlocks fell off on me. I reattached those strands using Zap-A-Gap CA glue for a much better hold... so you might want to use CA glue for ALL the dreadlocks.
So let's move, finally, onto the...
 I apply a piece of Masking
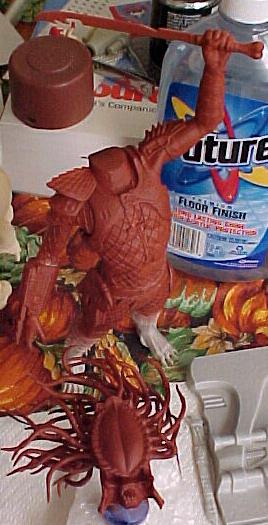
tape to the neck stump on the body and spray the head & body with KRYLON's RUDDY BROWN Sandable Primer.
I apply a piece of Masking
tape to the neck stump on the body and spray the head & body with KRYLON's RUDDY BROWN Sandable Primer.
I'd been debating whether to prime this with the Ruddy Brown or go with the White primer. Was thinking it would be easier to blend colors from light to dark with pastels, but decided to go with the Brown.
Unfortunately, my first instinct was right! Every time I tried applying pastels they would disappear once I sealed it. So went back and resprayed everything with KRYLON's White Primer.
1. The Body...
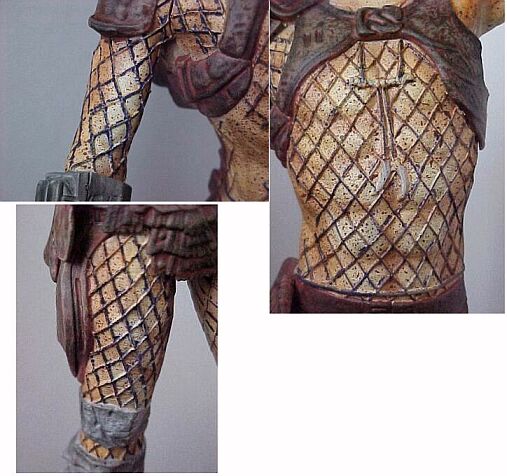
Start off using a Light Yellow pastel over the whole body. Next a Light Orange pastel. No sealing at all up to this point! Use the pastels right on top of the White Primer coat.
Next I take a very stiff Stenciling Brush, dip it in Apple Barrel Brown Oxide, and speckle the paint lightly all over the body to make the numerous freckles on his skin.
Taking a Dark Brown pastel, lightly brush on in a 'tiger strip' type style.
Only then do I seal using KRYLON's Matte Finish.
Mix up a ruddy brown combination and paint the harness and backpack portions. Seal w/ Matte Finish.
Mask off the body portions & drybrush on Apple Barrel Burnt Umber, followed by Delta Ceramcoat Light Chocolate. Seal.
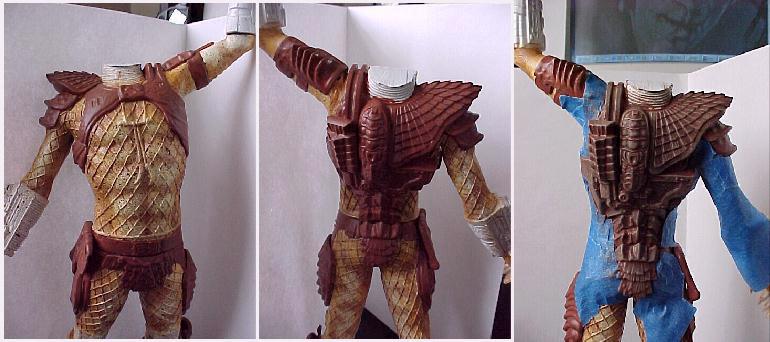
Finish masking around the harness on the front/sides, and continue drybrushing...
Mix up White with a drop of Black to make a very light Gray, and paint up the armor portions and the sword...
...then brush on Darker Gray & Black pastels. While I have the Black pastel out, also brush up the harness as well.
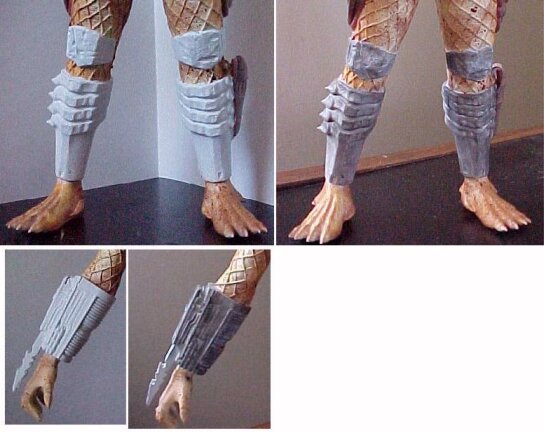

For the netting, I started out used a dark Gray finetip magic marker. As I finished up both legs and arm, I foolishly sprayed it down with Testor's Dullcoat instead of using Krylon's Matte Finish. It turned the dark Gray into a weird purple blotchy effect.
The chest area didn't end up that bad, and if you keep approx. 4 feet away, he doesn't look that bad, but really messed this stage up!

Oh well, chock it up to a learning experience!!
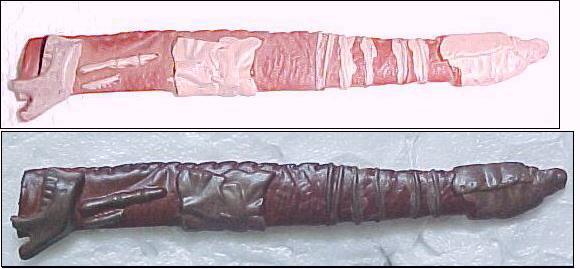
For the sword handle, used a combination of yellows and brown pastels to give it a wore bone look...
The sword itself, I experimented by scraping some of the dark Red pastel into a bowl, & added a couple drops of water. Mixed it up and applied it to the end of the sword with a Q-Tip, and let dry.
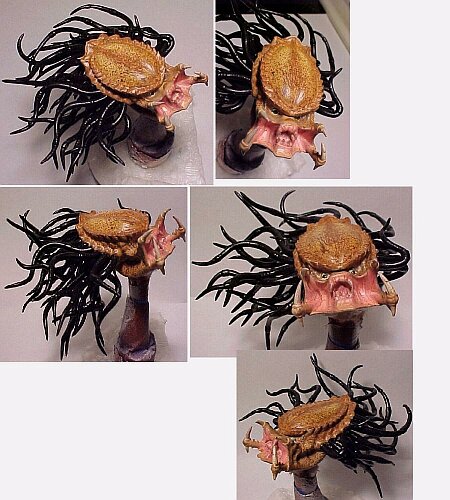
2. The Head...
Not realizing just how cold it was outside when I went to reprime the head w/ KRYLON's White Primer, the next morning I discovered that the white paint had cracked in various places.
I was going to sand it back down and respray it, but for some reason decided to brush on some pastel colors and see what happened. I was pleasantly surprised at the effects and decided to leave it as is!!
Again, like the body, used an off-yellow pastel to start with, then a medium orange, followed up with a dark brown. I used a Prismacolor dark Brown pencil and lightly sketched in the markings found on the top of his head.
For the inside of the mouth, light red pastel, followed by a dark red shade. Used a Yellow Sanford Gel Uni-ball pen for the pupils and a mechanical lead pencil for the iris'.
Once again, take Apple Barrel Brown Oxide and a stiff brush and speckle the sides and top for more freckles. One more coat of Matte Finish, then start painting the dreadlocks with Palmer Prism Raven Black.
And if you think glueing all 43 of them buggers on were a pain, just wait till you have to paint them all!!
Get a brush with a looooonnnnggg thin shaft that you'll be able to poke, squeeze, turn and pretzel into all sorts of angles inorder to get paint everywhere you need it to go!
And even then, everytime you check to make sure you got every side of every strand painted, you'll find another spot you missed!!
But hang in there!! After many hours of eye strain you'll come to that point where everything is pretty much covered!
Seal it with another coat of Matte Finish.
Using a Marvy Gold metallic Gel pen, start coloring in the beads on the dreadlocks.
Because the point of the Gel Pen is rather wide, you're not going to be able to 1) do all of them and 2) of the ones you can get too you'll not be able to completely encircle the beads all the way around!
The rule I went by was; when sitting on my shelf, any angle the kit was looked upon should be colored in (if possible).
Lastly, paint the teeth a slightly off-white color and the next day sprayed a final coat of TESTOR's Dullcoat.
3. The Base...
Start it off with a coat of KRYLON's Ruddy Brown Primer & let dry. Seal with Matte Finish. Follow up with Delta Ceramcoat Light Chocolate, seal, then Anita's Expresso Bean Brown.
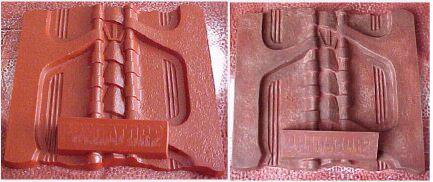
I've always sucked at doing name plates. Even as a kid, I couldn't paint up a name plate to where it looked halfway decent to save my soul!!
We definately need some article tips and tricks on this subject in future magazines, cuz I definately need help!!
But each new model is suppose to teach us something new, so I check out my huge stock of art supplies and find some thin tipped magic markers. Will see if the Red markers will do the trick.
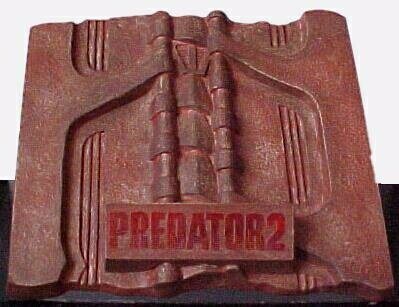
Would have liked it to be a brighter Red, but I can live with this.
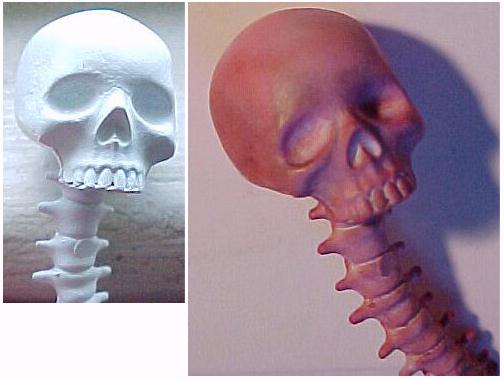
4. Misc. Pieces...
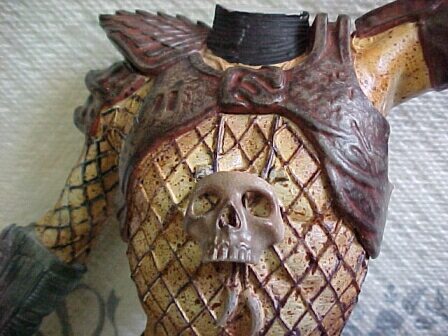
Spray the Skull & spinal column with Krylon's White Primer. Noticed a seam line on the Skull, so used Milliput to fill it in.
With pastels, I used a dark Red, & a very, very light touch of Black, then some light Pink, right onto the Primer coat (no sealant yet), leaving some white areas on the top and back of the skull.
White Primer as well on the skull ornament, then used various light brown and white pastels to dirty it up some.
Using Krylon's Ruddy Brown Primer, spray the sword scabbard. Paint portions with Delta Ceramcoat Light Chocolate Brown.
Then using a variety of different Browns, as well as Black pastels, dirty it up some.
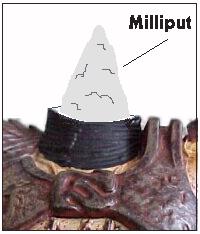
A drawing showing the coned Milliput
Go back and touch up the seam with Black. Two dreadlocks fell off during this whole process, so reattach them once again!
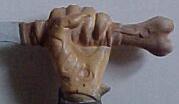
Glue the skull/spine to his hand, scabbard to his side and the figure down on the base and finally I'm done!
The Lindberg GODZILLA and all his scales, and this kit with all its dreadlocks. It's that unending repeat of steps on basically the same part, over and over again, that really tests your determination to the extreme!!
But once you push yourself to completion, you really appreciate the finer detail these many pieces gives to the overall kit and you're glad you hung in there!
That, and I think it shows how different countries show their appreciation to the craft. If this was an American kit, you'd never see all these individual pieces. The American companies are more concerned with an attitude of 'the less pieces to mold and cast up the better, cheaper and the more money we'll make selling the kit'.
Halcyon, being a UK company, ships it's work over to Korea... just as most American companies ship their work to China. So can't really explain why the difference in quality?!
But I still maintain that the American companies need to learn more about this craft from their Overseas counterparts and bring up the quality of their molds and castings.
This was a FUN kit to paint up and it can't help but improve your blending, weathering, & pastel work immensely!! Just be careful with the netting portions on your kit!
Happy Modeling - Buc (May 01')
![]()