
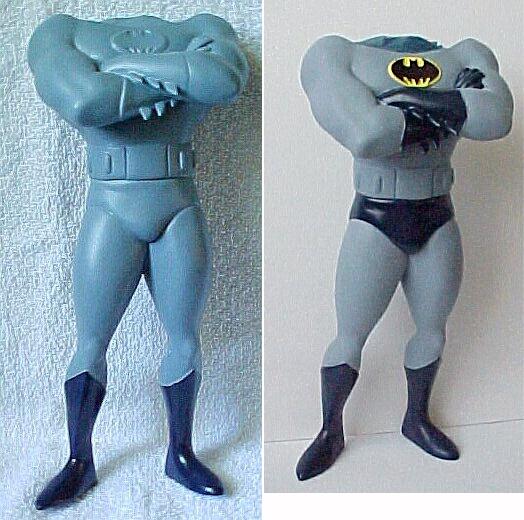
Comes in two easy pieces; head & cape as one, and the body as the other.
But what really makes this kit stand out is how smooth the casting actually is! If you spot this kit at a future show, do yourself a favor and get one!!
So let's get started!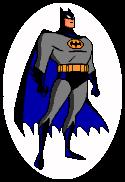
 While making a tour around the Dealer's tables at the April 2001 CHILLER THEATRE Expo, this was the first kit that caught my eye. My wallet instantly sprang to my hand and I snatched one of these babies up!!
Produced by Fighting Monk Studios, and expertly sculpted by Moto Sugai, this kit stands approx. 9 inches tall.
Prep & Priming...
 Using my Dremel, drill a hole where the cape attaches to the body, which I'll pin later.
Spray the two pieces down with Simple Green and scrub with a toothbrush. Rinse off under warm water.
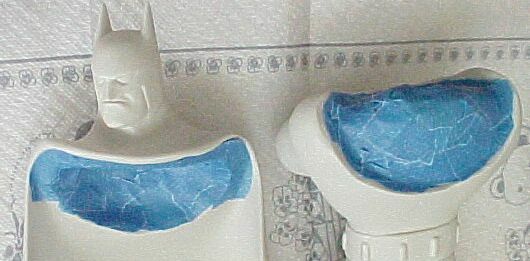 Once dry... tape off where the two parts meet, and spray down with Krylon's White Primer.
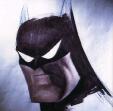
Painting the Head & Cape...
 The majority of Internet photo's show the new Animated Batman with the large Black Bat, sans yellow outline logo. I did find this nice statue, and decided to go with a dark Navy Blue cape, vice a black color, with a pure Blue for the inside.
Mask off the face area and spray with Krylon Dark Navy Blue on the cowl & outside the cape. Once dry, used Palmer
Prism Baltic Blue for inside the cape.
Chin area was painted with Anita's Latte Cafe, and eyes White.
Painting the Body...
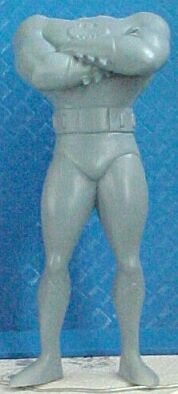 For the uniform, used a spray can of
ColorWorks Satin Country Blue. ColorWorks is made by KRYLON and can be found at Wal-Mart. Seal using Matte Finish.
For the uniform, used a spray can of
ColorWorks Satin Country Blue. ColorWorks is made by KRYLON and can be found at Wal-Mart. Seal using Matte Finish.
Mask off the boot tops and spray the boots with Krylon Dark Navy Blue. Same with the underwear and gloves.
Wasn't too happy with my Masking abilities. Upon removing the tape, some of the lines weren't smooth or lined up as well as I would have liked. Plus some of the light Gray pulled off in one small area. So mixed up a batch of Light Gray and repainted all his uniform areas, cleaning up where the Gray and Navy Blue meet.
Painted the emblem & Utility Belt with Palmer Prism Sunlight Yellow, and used a fine point, and a thicker medium point Sanford Sharpie for the Bat emblem.
Mounting to a Base!
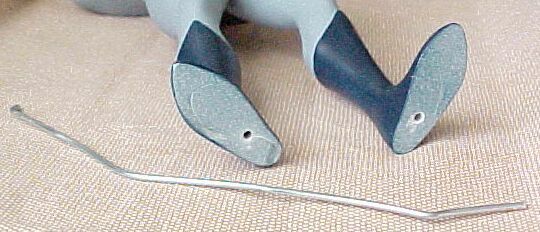
Using my trusty Dremel and a small drill bit, drill two holes at the bottom of Bat's feet. Straighten out a butterfly paper clip, snip off two lengths that fit nicely in my drilled out holes. Lined the feet up on a wooden base and pressed down to make a slight impression, then drilled two holes through the wood and he slide right in!
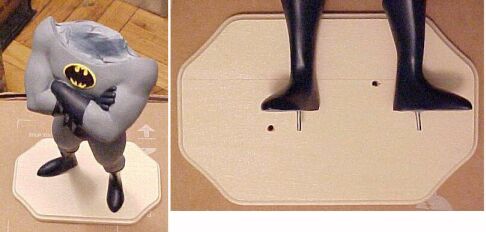
I couldn't find a nice oval piece of wood, which I could then take over to my router and make a nice bat emblem out of it. So until I do find one, I haven't glued him down to the base yet.
After Thoughts!
This is a very easy kit to paint up, glue together and quickly admire on your shelf!! The stance displayed on this kit is very striking and it's one of the finer Batman kits to come along in a long time!!
Well done to Fighting Monk Studios!!!
Happy Modeling - Buc (July 01')
![]()